What is the Flare-On Challenge?
Every year, the FireEye Labs Advanced Reverse Engineering (FLARE) team hosts a reverse-engineering CTF. This year’s contest had 12 total challenges that covered a variety of architectures, from x86 to Android. The contest ran for 6 weeks, starting on August 16th and ending on September 27th. Most of the challenges are Windows based with a few exceptions.
This year was my first time participating and I was able to solve 5 out of the 12 challenges. The writeups below documents my solutions as well as my thought process throughout this competition.
Setup
I didn’t have an environment set up for reverse-engineering on Windows, so before tackling any of these challenges, I worked on setting one up. Doing a quick search led me to FLARE VM, a Windows-based environment for reverse-engineers, created by the Flare team at FireEye. The installation was simple, I just created a brand new Windows VM in VMWare, downloaded the install.ps1 script from their GitHub repo, and followed the instructions to run it. After letting that run and update, I had all the tools I needed to get started.
Challenge 1
MemecatBattlestation.exe
Description
Welcome to the Sixth Flare-On Challenge!
This is a simple game. Reverse engineer it to figure out what “weapon codes” you need to enter to defeat each of the two enemies and the victory screen will reveal the flag. Enter the flag here on this site to score and move on to the next level.
This challenge is written in .NET. If you don’t already have a favorite .NET reverse engineering tool I recommend dnSpy.
Walkthrough
For the first challenge, we’re given a single file, MemecatBattlestation.exe, and the author was nice enough to let us know it’s a .NET program. So I fired up dnSpy and opened the file.
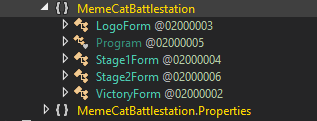
After opening the file, I can see that there are 3 interesting forms to look at, Stage1Form, Stage2Form, VictoryForm.
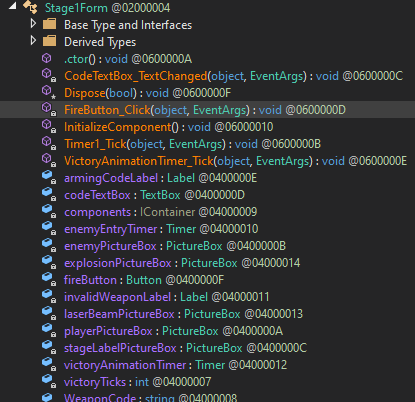
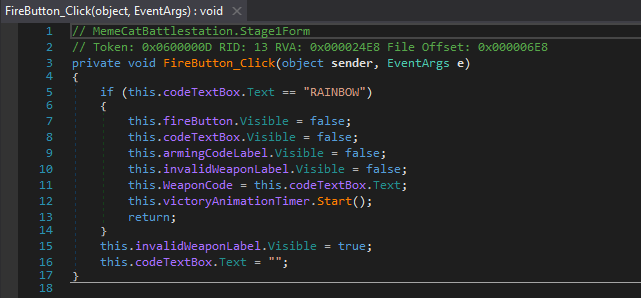
Expanding Stage1Form and clicking on the FireButton_Click() method, it was trivial to find our first weapon code.
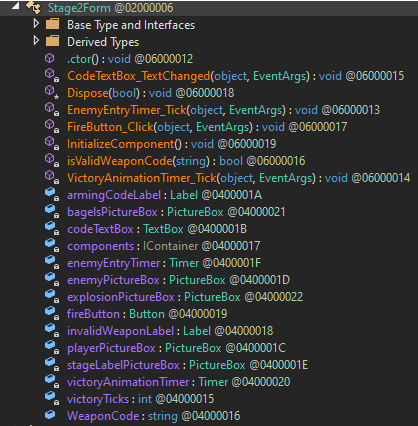
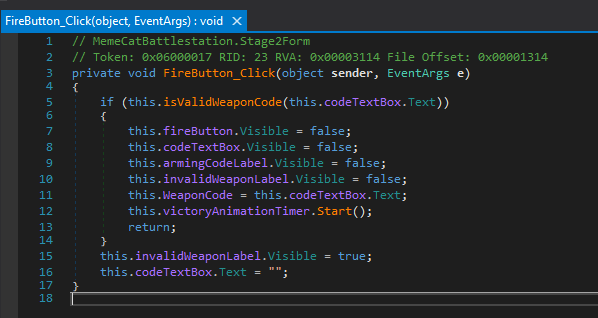
Expanding Stage2Form and clicking on the Firebutton_Click() method, we’re not as lucky. Instead of having a hardcoded string, there’s an extra method isValidWeaponCode() that validates the Stage2 weapon code.
Moving into the isValidWeaponCode() method, we find some code that XOR’s each character in the user-entered weapon code with the letter ‘A’ and stores it in an array. If that array matches the hardcoded sequence, you have the correct weapon code. So all we have to do to find the Stage 2 weapon code is XOR each of the hardcoded values with the letter ‘A’.
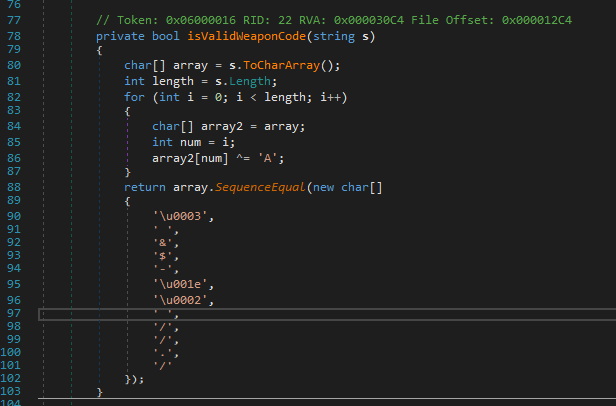
We can take the hardcoded array and XOR each byte with the letter ‘A’. I found a really useful website called dotnetfiddle that lets you compile and run C# code.
using System;

public class Program
{
	public static void Main()
	{
		char[] array = {'\u0003',' ','&','$','-','\u001e','\u0002',' ','/','/','.','/'};
		int length = array.Length;
		for (int i = 0; i < length; i++) {
			array[i] ^= 'A';
		}
		Console.WriteLine(array);
	}
}
Running the above code yields the 2nd weapon code.
2nd Weapon Code: Bagel_Cannon
At this point, we can run the .exe and enter the weapon code for each stage. However, I opted to continue with static analysis.
Finally, looking at VictoryForm, we find the VictoryForm_Load() method.
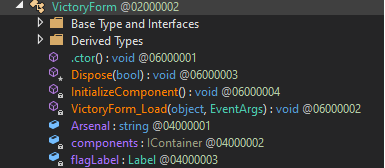
Expanding that method yields the following code.
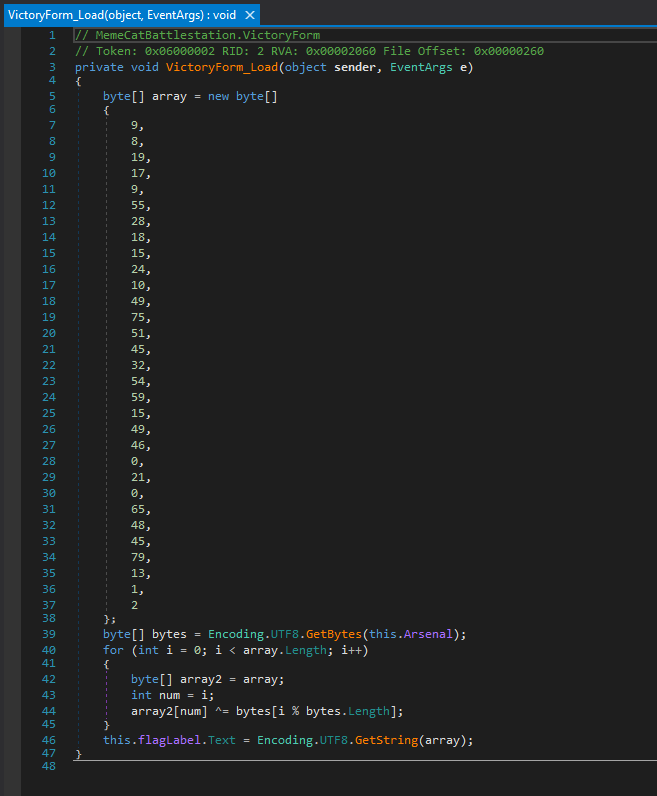
It looks like the final flag is the result of another XOR between the hardcoded array and Arsenal. But what is Arsenal? Jumping to the Main() function, we see that Arsenal is the result of joining the weapon codes from Stage 2 and Stage 1 together, both separated by a “,”. Which results in Bagel_Cannon,RAINBOW.
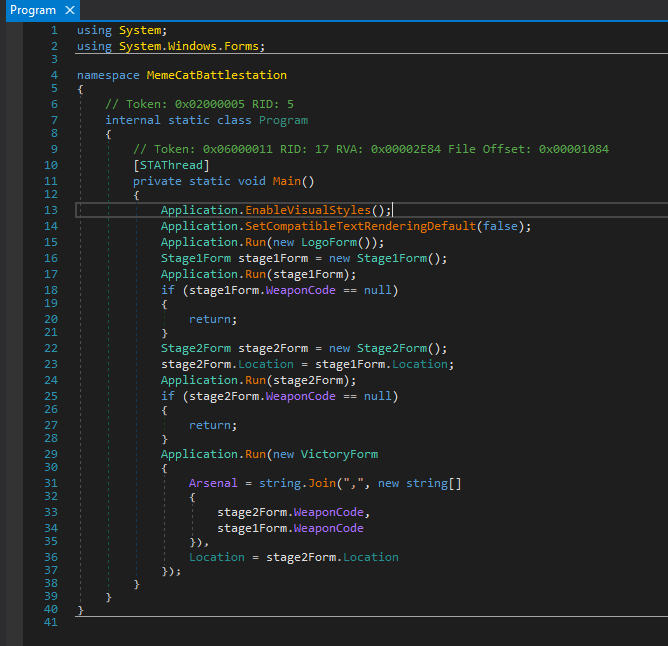
Modifying the VictoryForm_Load method a bit..
using System;
using System.Text;
public class Program
{
    public static void Main()
    {
        byte[] array = new byte[]
        {
            9,
            8,
            19,
            17,
            9,
            55,
            28,
            18,
            15,
            24,
            10,
            49,
            75,
            51,
            45,
            32,
            54,
            59,
            15,
            49,
            46,
            0,
            21,
            0,
            65,
            48,
            45,
            79,
            13,
            1,
            2
        };
        byte[] bytes = Encoding.UTF8.GetBytes(string.Join(",", new string[]
                                {"Bagel_Cannon",
                                 "RAINBOW"
                                }));
        for (int i = 0; i < array.Length; i++)
        {
            byte[] array2 = array;
            int num = i;
            array2[num] ^= bytes[i % bytes.Length];
        }
        Console.WriteLine(Encoding.UTF8.GetString(array));
    }
}
Running the above code yields the final flag: Kitteh_save_galixy@flare-on.com
Challenge 2
Overlong.exe
Description
The secret of this next challenge is cleverly hidden. However, with the right approach, finding the solution will not take an overlong amount of time.
Walkthrough
For this challenge, we are given another .exe file, Overlong.exe. For fun, I decided to just run the file without doing any prior analysis.
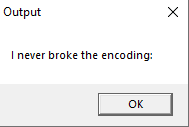
The program outputs the text
I never broke the encoding:
Looking at that output and the challenge name, I suspect that there was more text that isn’t being displayed. Generally I run strings on binaries for CTF challenges, sometimes the flags are hardcoded in or it can reveal other interesting tidbits.

Viewing the output from strings, I notice that “I never broke the encoding:” doesn’t appear at all, which leads me to suspect that the strings in this program are obfuscated.
Moving on to another tool, rabin2, I run the following command: rabin2.exe -z .\Overlong.exe, -z specifies strings.

Bingo!
Flag for Challenge 2: I_a_M_t_h_e_e_n_C_o_D_i_n_g@flare-on.com